How to Use Organizations
AdminCreate and manage multiple companies under one Staffic account — each with its own code, timezone, currency, and isolated data (admin only).
Organizations overview
Open Organizations
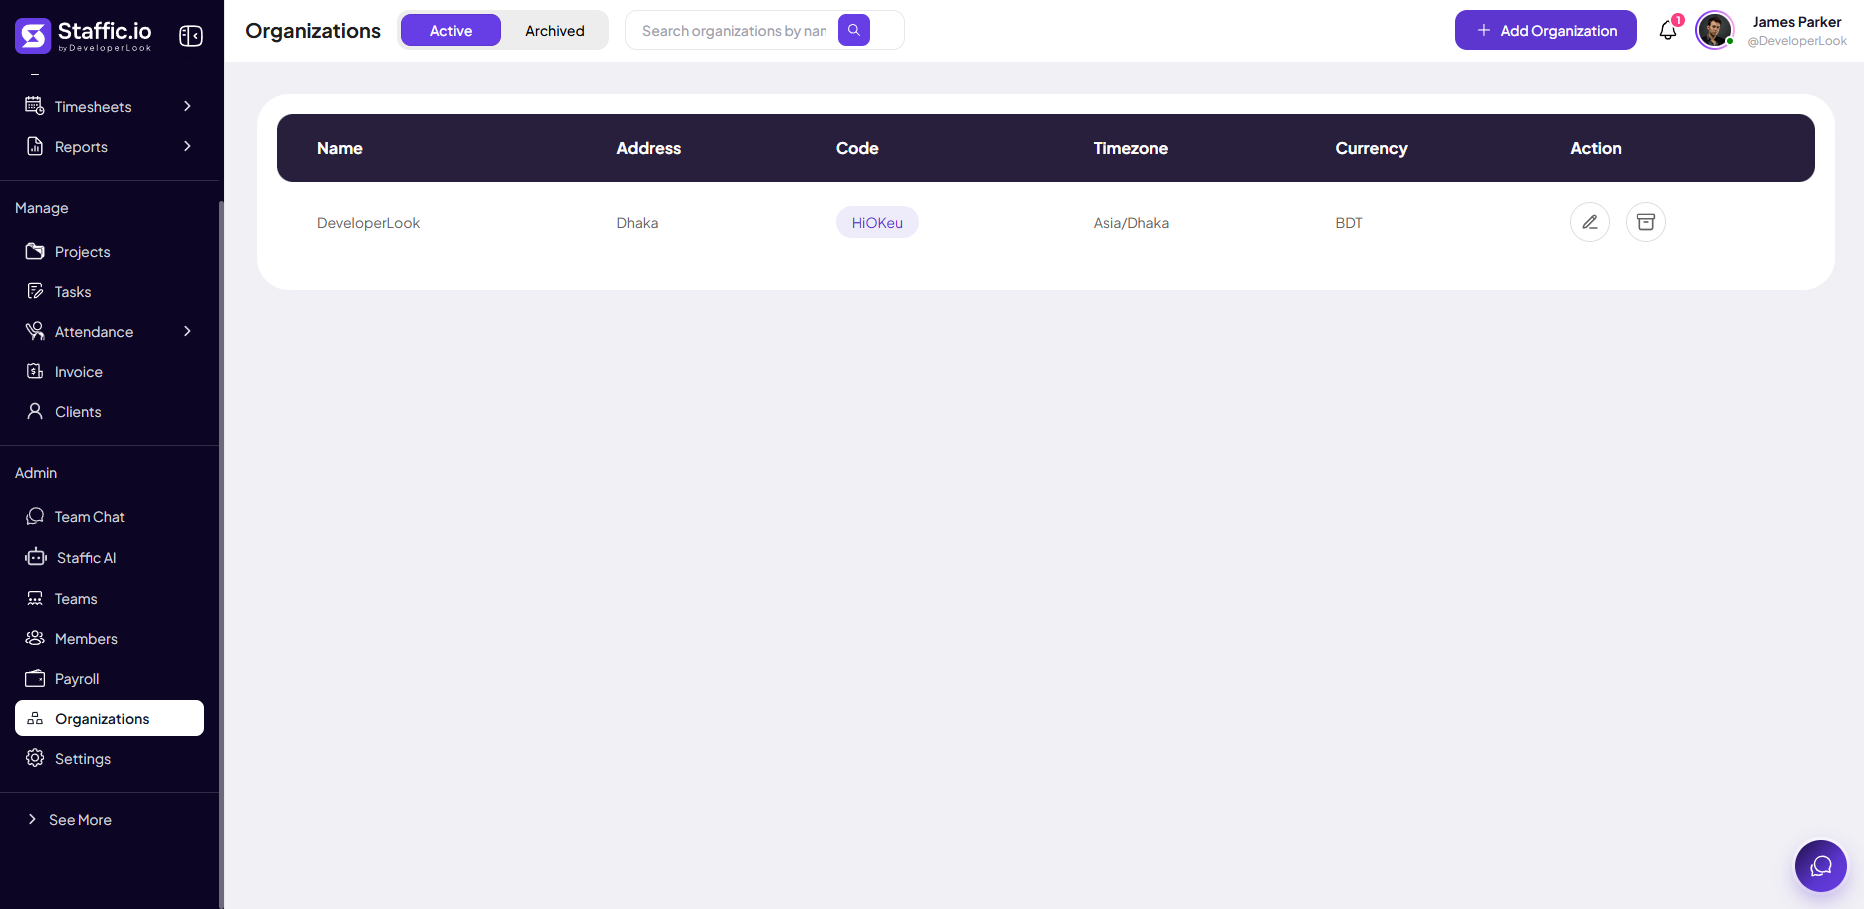
Go to Organizations under Admin in the left sidebar. Switch between Active and Archived, search by name, and click + Add Organization to create another company.
Read the table
Each row is one legal entity or workspace:
Name
Organization display name (for example, DeveloperLook).
Address
Office or billing address for records.
Code
Unique join code (for example, HiOKeu) — members use it on Join Organization during signup.
Timezone
Default for timesheets and attendance (for example, Asia/Dhaka).
Currency
Payroll and invoice currency (for example, BDT, USD).
Action
Edit (pencil) or delete (trash) — archive instead of delete when you need history.
Switch organizations
Users who belong to multiple orgs switch from the organization menu in the app header without logging out. Billing and member counts are per organization.
Keep client data in separate organizations for agencies and holdings — do not mix confidential work in one org.
Add an organization
Step 1: General Details
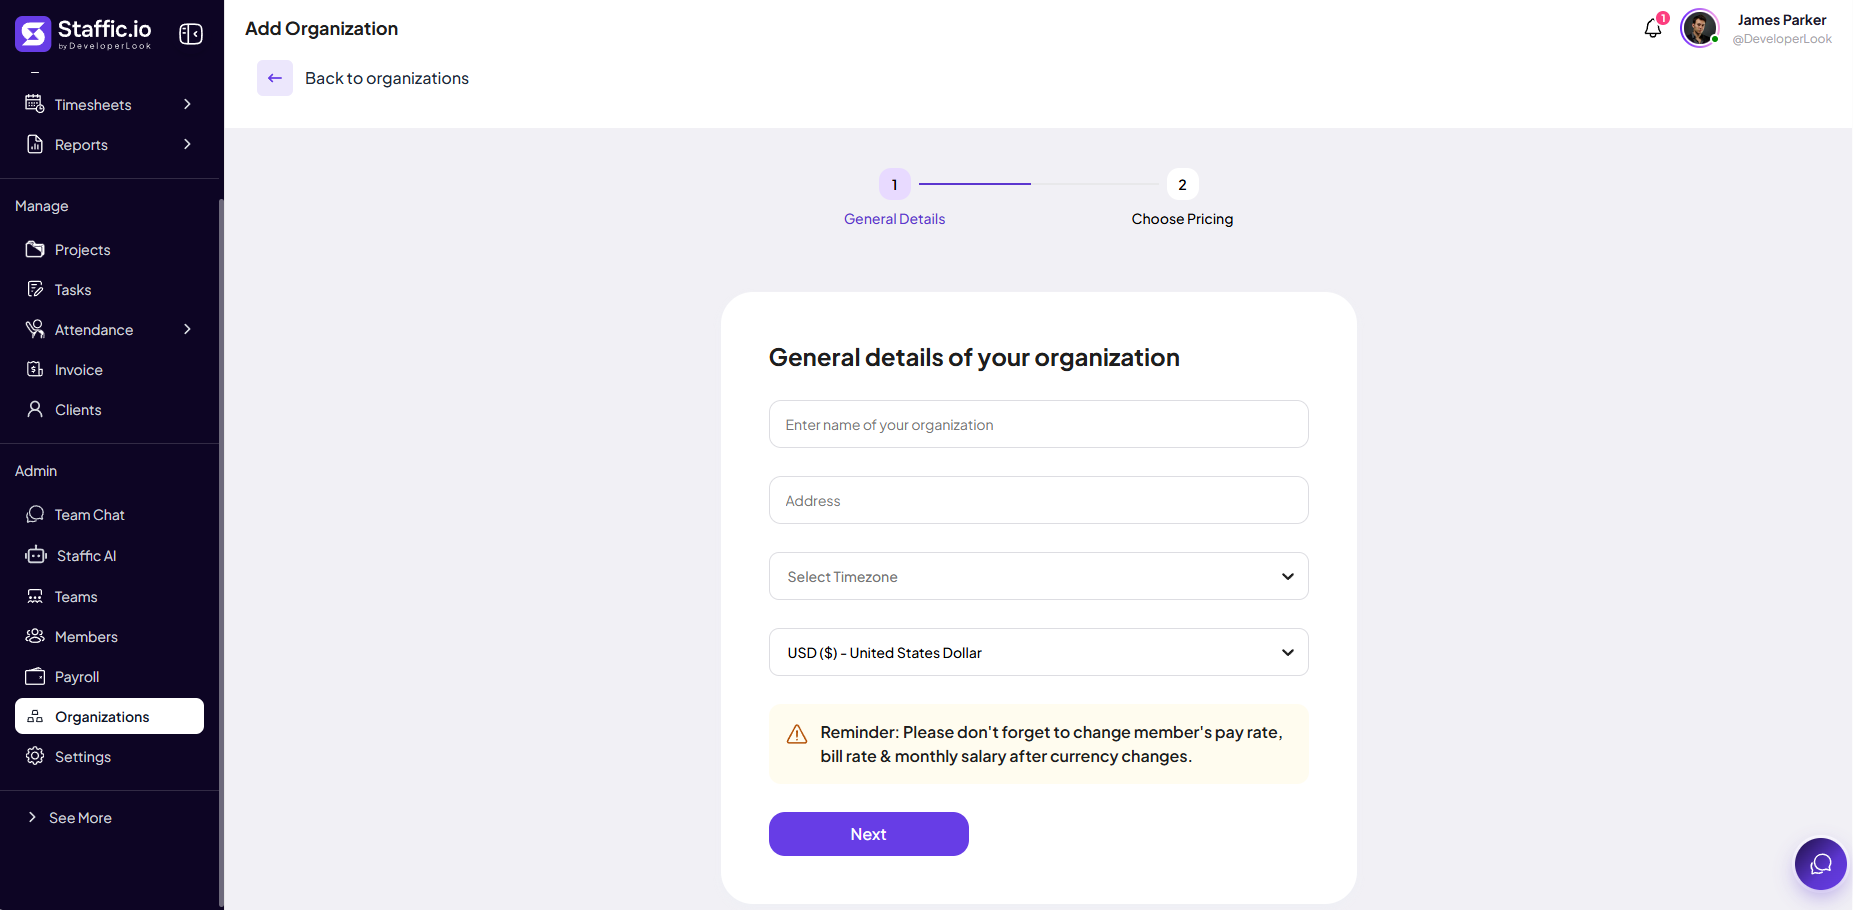
Click + Add Organization. On General Details, enter name, address, timezone, and currency, then click Next.
Organization Name
Legal or brand name shown across the workspace.
Address
Optional location note.
Timezone
Drives timesheet day boundaries and reports for this org.
Currency
Affects Payroll, Invoices, and member rates — see reminder below.
After changing currency, update each member’s pay rate, bill rate, and monthly salary under Admin → Members.
Step 2: Choose Pricing
Select a plan for the new organization (same flow as initial signup). Complete the wizard to activate the org.
Tips
- Use separate organizations for distinct legal entities — never mix client payroll in one org.
- Share the Organization Code only with people who should join that workspace.
- Archive inactive orgs instead of deleting when you need historical reports.
- Match timezone to where the majority of members work.
Ready to get started?
Create your organization, invite your team, and start tracking in minutes.
Start Free Trial