How to Use Projects
Create and manage client work in one place — track status, tasks, deadlines, and budgets so time rolls up correctly to timesheets and invoices.
Projects overview
Open Projects
Go to Projects under Manage in the left sidebar. The list shows every project your role can access.
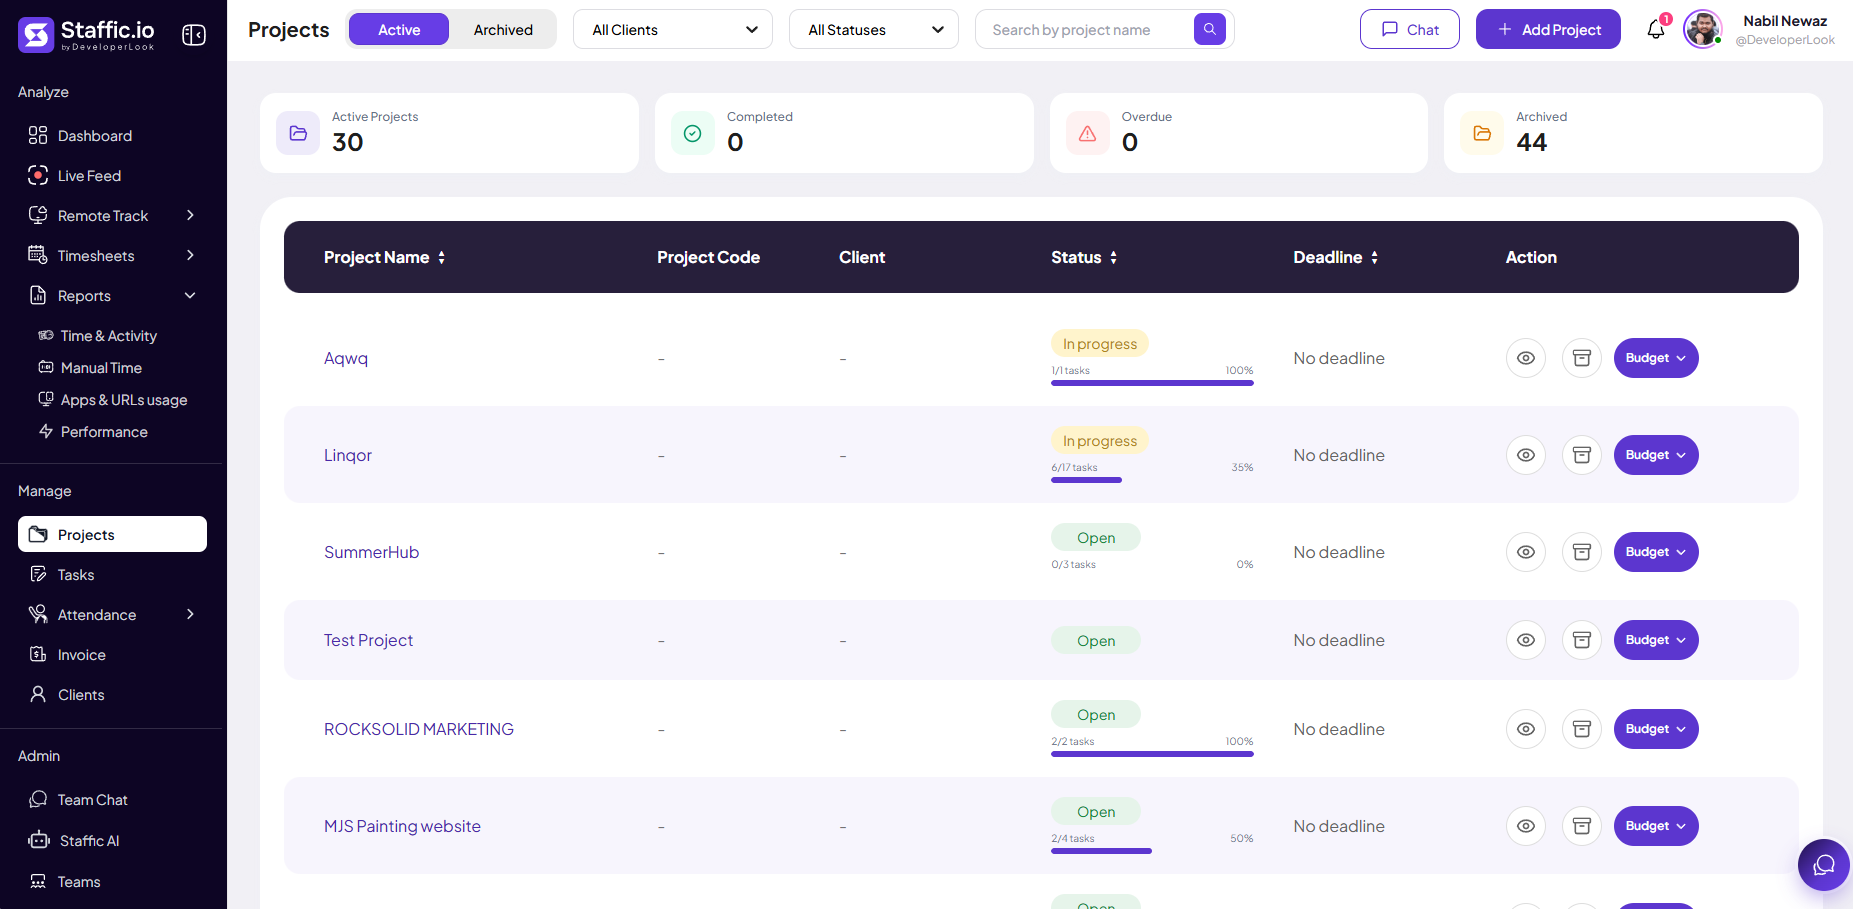
Summary cards
At the top, four cards give a quick count of Active Projects, Completed, Overdue, and Archived — use them before drilling into the table.
Filter and find projects
Switch between Active and Archived tabs. Filter by All Clients and All Statuses, then search by project name. Click + Add Project to create a new one.
Read the project table
Each row is one project. Key columns:
Project Name
Display name shown on timesheets, Live Feed, and reports when members track against this project.
Project Code
Optional short code for exports and integrations — appears as a dash until you set one.
Client
Linked client for billing — assign under Clients when invoicing by account.
Status
Badge (for example, In progress, Open) plus task progress such as 6/17 tasks and a percentage bar.
Deadline
Target end date when set; shows No deadline until you add one.
Action
View (eye icon), archive, and Budget menu for budget setup and alerts.
Create and maintain projects
Add a project
From the Projects list, click + Add Project. The General Details form opens — fill required fields, then click Create (or Cancel to go back without saving).
Project Name (required)
Name shown on timesheets, Live Feed, and reports when members track against this project.
Start Date (required)
When the project begins — defaults to Today; use the calendar picker to change it.
Status (required)
Choose status from the dropdown (for example, Open or In progress) so the list badge and filters stay accurate.
Project Code (optional)
Short code for exports; appears in the Project Code column on the list.
Select Client (optional)
Link a client for invoicing — pick from Choose client or add clients under Manage → Clients first.
Deadline (optional)
Target end date; otherwise the list shows No deadline until you set one.
Description
Internal notes on goals or scope — visible to admins and managers reviewing the project.
After creation, assign members and configure budget from the project list or detail view so the team can select this project in the desktop tracker.

Budget and billing
Use the Budget action on a row to configure limits and monitor spend against logged time. Pair with Reports → Project Timing for month-end reviews.
Time logged on a project flows to Timesheets, Dashboard, Invoices, and Reports — keep project and task names consistent for clean exports.
Archive instead of delete
When work finishes, archive the project from the row action so historical time and reports stay intact. Switch to the Archived tab to find it later.
Tips
- Archive completed projects instead of deleting to preserve historical reports.
- Assign a project manager for approval workflows on timesheets.
- Link each project to a Client before running Invoices for that account.
- Use status and task counts on the list to spot stalled work without opening every project.
Ready to get started?
Create your organization, invite your team, and start tracking in minutes.
Start Free Trial